

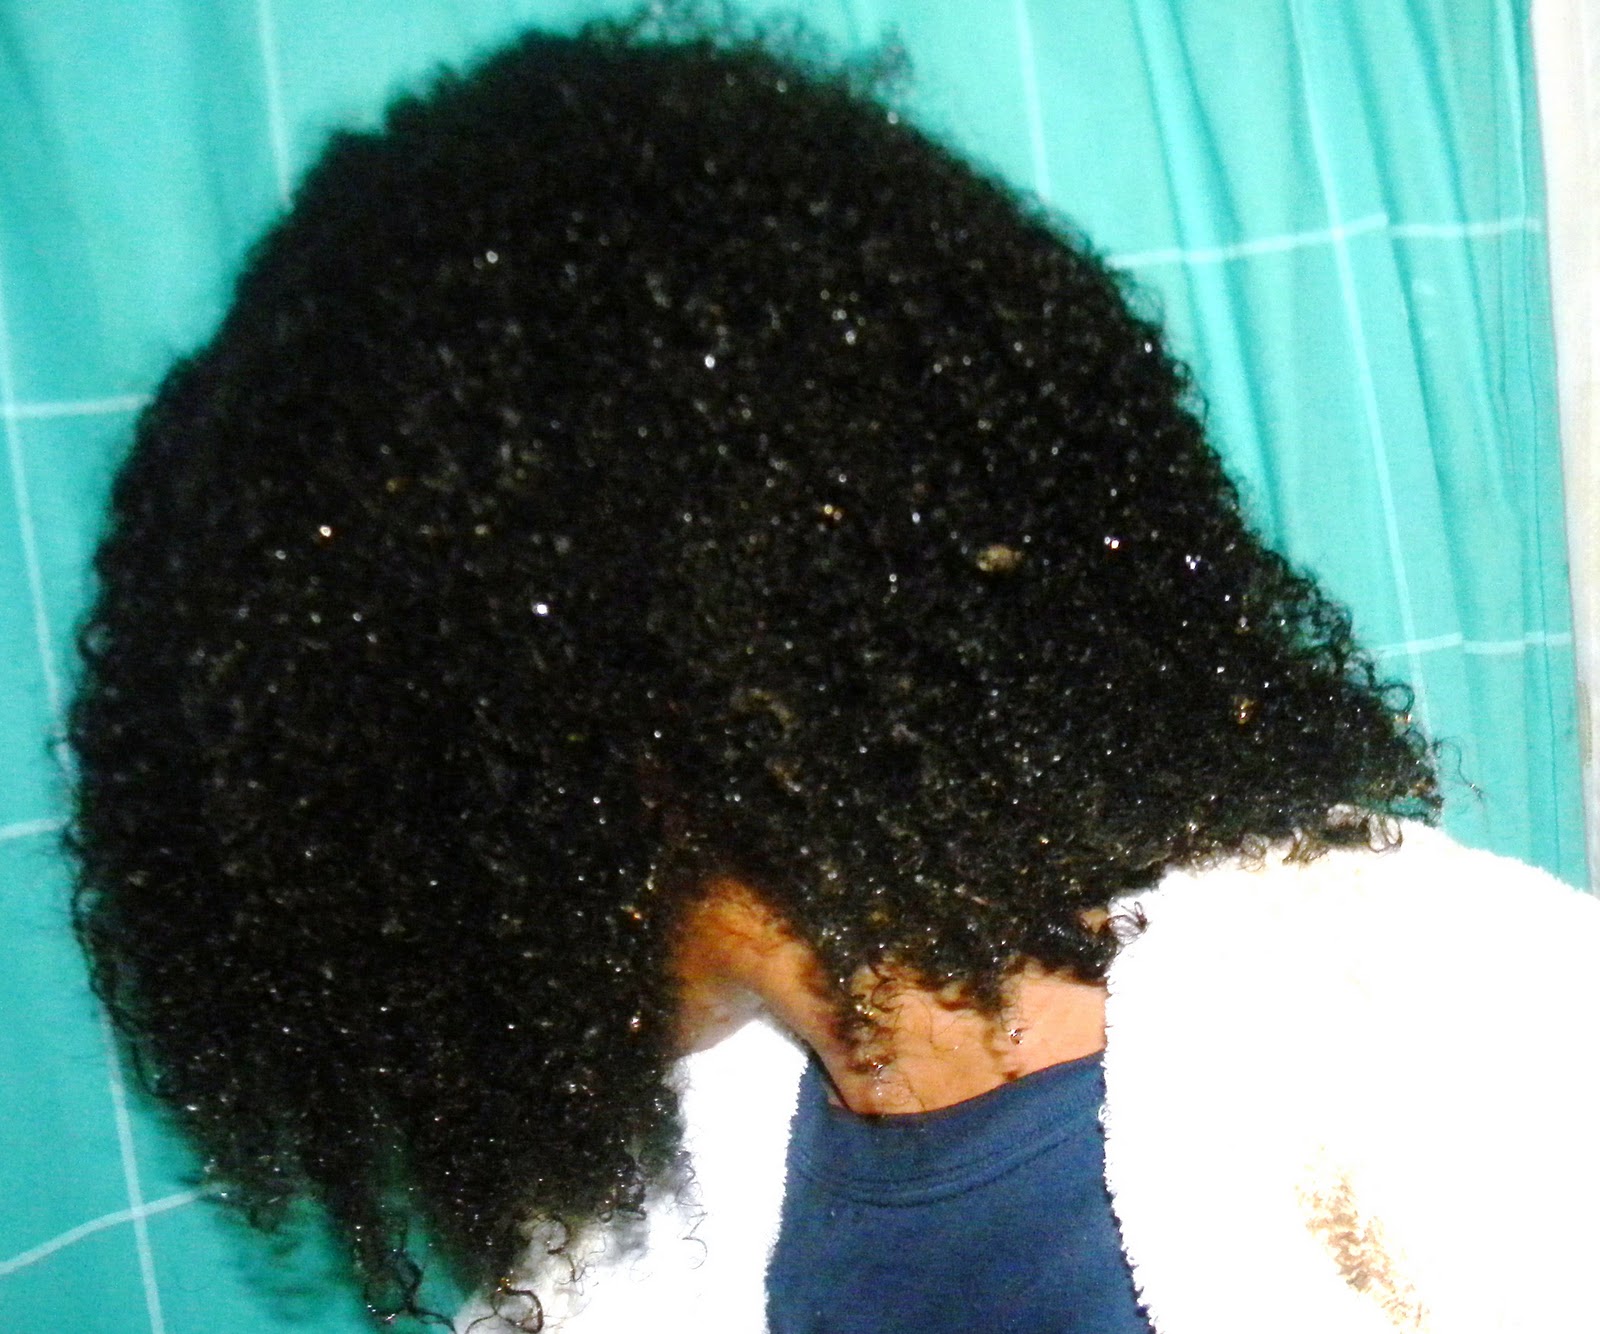
 |
| Me after a night with Cassia Obovata ("Neutral Henna") |
This stuff is like mud bath for your hair. The process is definitely a weekend job. It involves a lot of prepping, mixing ... waiting, applying...waiting, rinsing...rinsing...rinsing, conditioning...waiting. Not for the impatient. And it's messy. The henna more than the cassia obviously, but still.
I must say that I wasn't too impressed with the cassia. I did notice a little bit more spring to my curls. However, I think this is because I clarified before starting the treatment (with plain ol Suave clarifying shampoo with a couple drops of Dr. Bonners tea tree castille and rose castille liquid soaps). I have not done this in over 6 months! Shame on me! Clarifying is super important for stripping the hair of excess product residue and maintaining a healthy scalp, especially if straightening is involved. If you rather use natural products to clarify, apple cider vinegar is an option. I don't go that route because I don't like the smell in my hair at all. You could also use baking soda or bentonite clay. Yeah...I just keep it simple with some clarifying shampoo. It wasn't until I read this post at Moptop Maven, that the light bulb went off reminding me that I had forgotten this super important step in my routine of clarifying my hair once a month. It surely made a difference that I noticed right away.
But back to the Cassia... Maybe I didn't like it because of the brand. I bought Light Mountain pretty much on a whim because it was the only henna brand that I saw at Whole Foods. However, I couldn't find many reviews upon my arrival home and immediate google search of the brand. But I went ahead and tried it because of Whole Foods extremely liberal return policy. Don't like it? Bring it back. Used or not.
 |
| Light Mountain 100% Pure Botanical Hair Conditioner - Neutral |
Maybe I didn't like it because I didn't use enough. Like I said, henna (and cassia) reminds me of a mud bath for your hair. It HAS to be packed on like cake batter. One box of Light Mountain (about $6) contains 100 grams of powder (this is the norm per box of commercially sold henna powder). For my hair length and thickness, I figured I would probably need 2 boxes (or 200 grams). This is where stuff gets expensive. Cassia treatments usually lasts about 2-3 weeks before the effects fade. Henna lasts a lot longer (usually 2-3 months). However, I've found that most people do these treatments more frequently than that at least at first. This is because the effects are cumulative. The more you do it, the more the conditioning and strengthening benefits become apparent in your hair. Henna glosses are popular for maintaining the look in between time. This is done by mixing the henna normally and adding conditioner to the mix. You can find a recipe here. Boy do all those boxes add up quick!!
After my failed Cassia experiment, I decided to go ahead and do the real deal. But I did even more research this time. I found brands that I wanted (body art quality, because hennas sold solely for the purposes of dyeing hair have been found to contain dangerous additions of chemicals and additives). I contacted local Indian grocers to find out what products they carried in an attempt to avoid inflated internet prices, shipping costs, and waiting. Alas, I found Swagat Foods in Oak Forest, IL. They had a pretty large stock of henna and other great finds for cheap! I got 3 boxes of the Jamila brand ($1.99, per 100 gram box), which is very popular in the blogosphere, and Dulhan ($2.99 per box), a body art quality brand that also receives rave reviews online. Results often vary in terms of color richness and hue depending on the brand and sometimes the crop in which the plant was born. But results seem to be pretty consistent with these brands, according to henna users.


I began with popular blog, Curly Nikki, and the henna forum, Henna For Hair (a site which Curly Nikki actually administrates), at my side. I won't go into detail after detail about my process. Please use her informative site, that has a special section for henna, along with the forum as your guide if you are considering this treatment. I followed her steps almost exactly.


 |
| Me after spending the night with the Jamila brand Henna treatment applied |
I could have probably even used one more box of henna (I used 2 boxes of the Jamila brand). One side of my head is well-packed. The other side, not quite so much.
But let's get to the results!
Henna can be extremely gritty and hard to get out depending on the brand. I would say this one was easy enough but I could still see some residue after the initial rinse.
 |
| My tub looks like a crime scene after my initial dipping to rinse out the henna! |
 |
| Up close you can see the red tints on my dark hair |
 |
After the initial rinsing out the henna treatment |
I did not shampoo. Instead I used a protein-free conditioner to rinse out my hair (Tresseme Naturals conditioner). I ended up using half the bottle before the water at the bottom of my shower looked clear-ish. After my conditioner, my hair was suuuuuper soft and lush to the touch. My hair seemed to want to clump in bigger curls. Honestly, I can't wait to henna again!
 |
| After rinsing henna out with conditioner |
But this wasn't the end of my journey!! I wanted my hair BLACK!! I think I've wanted jet-black hair ever since Darlene Connor dyed hers to defy Roseanne. LOL! To achieve this, I used the 2 step indigo process. Henna and then right after, indigo. Indigo is an organic compound with a distinctive blue color. This is the same natural dye that is used to make your blue jeans blue! However, when layered on top of the red-tinted henna, it creates a very dark blue-black appearance to your hair. I almost backed out of part two because results are extremely varied depending on the color, texture, porosity, etc. of your hair. But I went ahead as planned.
Stay tuned for Part II - The Indigo Experiment!!
SPC
Cool, I can't wait to hear about part 2!
ReplyDeleteComing up!! Thanks for commenting Jennifer!
ReplyDeleteThanks for the post! I've always wondered about the whole henna process.
ReplyDelete